Table of Contents
The Top 10 Tips for Starting a Vegetable Garden
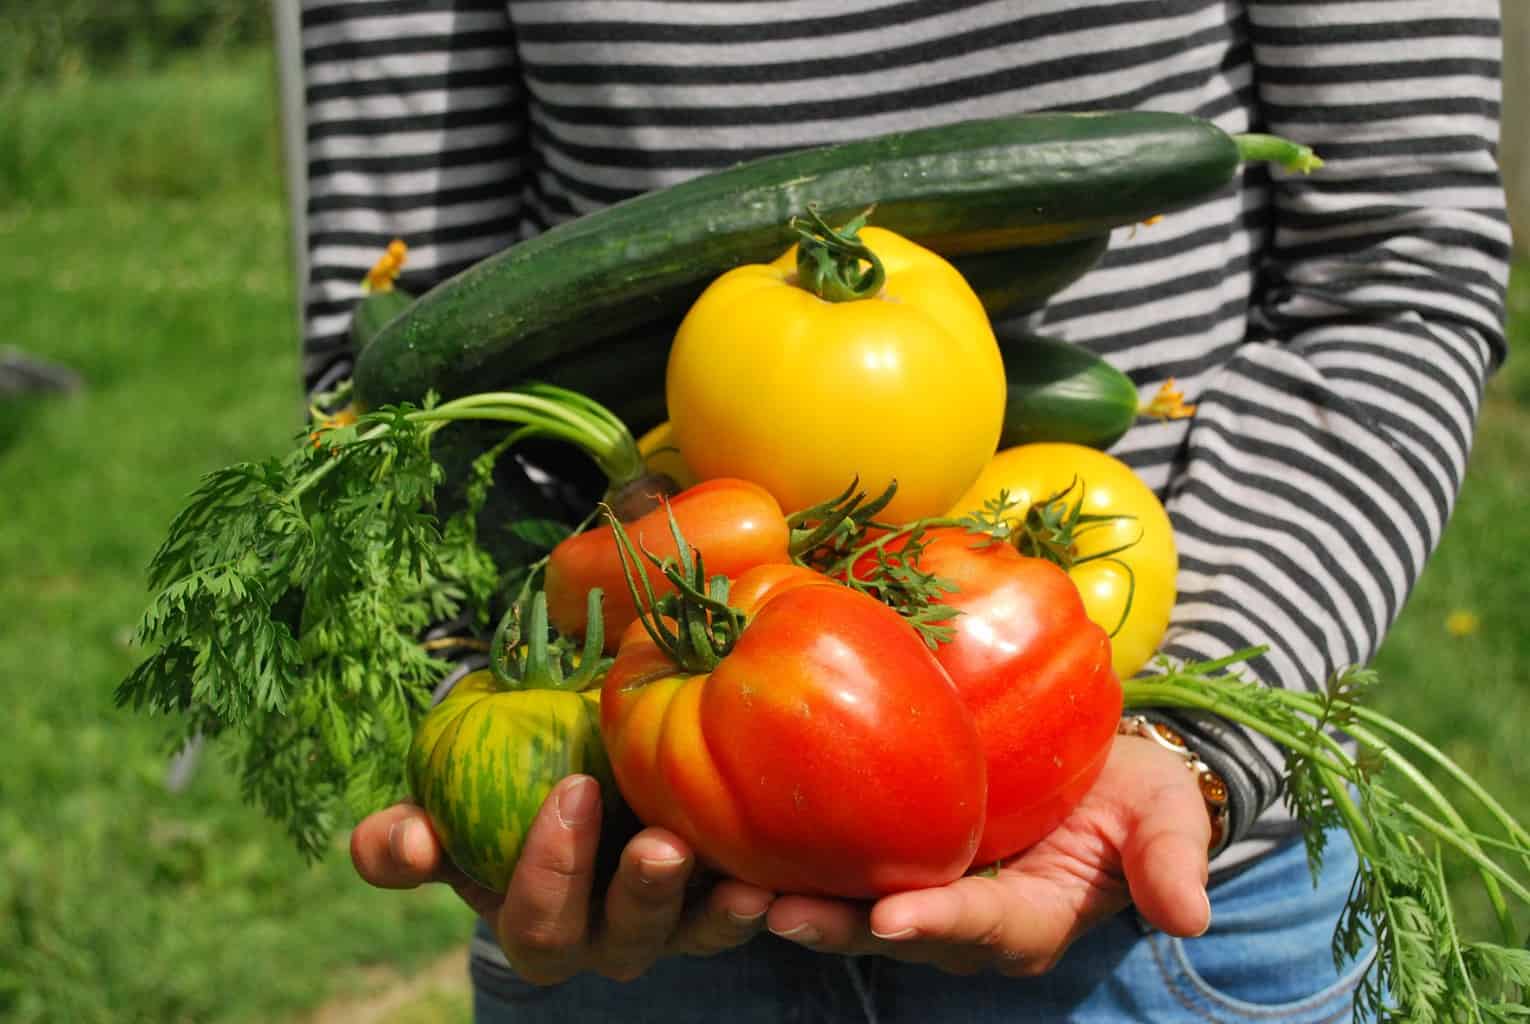
One of the hottest gardening trends for 2022 is growing edibles, becoming increasingly important. Vegetable gardens are the most convenient and cost-effective way to obtain healthy, safe vegetables.
You’ve probably considered starting a vegetable garden, and we encourage you to do so. It is a rewarding job because you will enjoy your first harvest in a short period.
There are many things to know before starting or even planning your vegetable garden and tips to help you throughout the process, which is why we decided to cover the basics of creating a successful vegetable garden.
This guide emphasizes essential aspects of edible gardening, such as selecting appropriate vegetables, planning and designing your garden layout, soil preparation, planting, and harvesting.
We hope you find our helpful advice and that you can grow your own healthy and safe edibles. Vegetable gardens can even be grown on balconies and decks
if you don’t have much space. Here’s an easy way to do it.
1. Choosing Which Edible to Grow
If you are new to vegetable gardening, it is best to start with easy-to-grow edibles. Among the vegetables: lettuce, tomato, sugar snap peas, beans, radish, summer squash, chives, basil, thyme, and other vegetables are excellent choices. However, we recommend that you start small. This means only planting what you need.
You don’t want to waste food or become overwhelmed by your garden. Consider what your family eats. Also, keep in mind that some vegetables produce throughout the season, whereas others are only made once. A thriving vegetable garden requires careful planning.
2. Use Your Space Efficiently
So you’ve decided what to plant, but now it’s time to figure out how much space you’ll need and, of course, where you’ll put your vegetable garden.
It should get enough sunlight and be close to a water source while protecting from wind and frost. Then, once you’ve decided on the ideal location, you should consider how to make the most of the available space.
Again, keep it small; you don’t need much room to begin with. You can grow edibles successfully in containers on your deck or balcony, so you don’t need a lot of space.
If you care for your garden correctly, it will produce more than a much larger weed-infested garden. It’s simple: a large garden takes more time to maintain. We encourage you to go for it if you are an experienced gardener with enough time to care for a large garden.
However, if you are too busy to devote much time to your garden or are a beginner, we recommend more miniature edible gardens or even raised beds as a much better option.
3. Design and Layout
There are two ways to plant your garden layout. The first method is conventional row planting. The most common vegetable garden layout is simply arranging the plants in rows in a single file; there is a walking path between each row.
Although row cropping appears to be a logical and straightforward method, it is only appropriate for extensive vegetable gardens. And, given that we are running out of garden space, a different system is required.
Intensive cropping reduces the amount of land required for a vegetable garden. However, it entails the use of broad bands. Therefore, even if your garden is small, dividing it into small beds will mix different vegetables.
Raised beds will enable you to reduce the size of your garden or open beds. However, there are numerous advantages to using an intensive garden system over rows, such as less effort, minor soil complications, and so on.
4. Move The Crops
We recommend a three-year crop rotation system, which involves planting the same crop in the exact location only once every three years.
This ensures that the same garden vegetables do not deplete the same nutrients year after year and ward off any insects or disease pathogens that may be lurking in the soil after the crop has been harvested. To implement this system, you will need to create a paper plan for each growing season, indicating the location of all plants, which you will save so you can remember what you grew where in previous seasons.
5. Prepare the Soil
If your garden has never been planted, your vegetables will do well the first year, but you will need to prepare the soil for good results the following year.
Simply amend the soil with some good organic matter. It is always a good idea to test the soil before planting edibles. Using a soil test kit, determine the pH of the soil.
Lime can be used to sweeten acidic soils or soils with low pH. Alkaline soils with high pH, on the other hand, require gardener’s sulfur and rich organic matter and should be mulched with acidic materials such as pine needles and forest duff.
Don’t forget to look at the soil drainage as well. This can be accomplished by soaking the soil with a hose for a day than digging up a handful of soil. Squeeze the soil firmly. If water is streaming out, you should probably add compost or organic matter to improve drainage.
6. Starting Seeds Indoors
Grow your seedlings indoors in late winter, so they are ready to plant when the weather warms up; this is especially true for vegetables like tomatoes, peppers, and eggplant, which require a warm growing season to produce a harvest.
However, cool-season crops such as broccoli and cabbage can be started indoors and transplanted into the garden in early spring or late fall. First, fill 4-inch containers with potting mix to start the seeds.
Moisten and dry it before planting the seed according to the package instructions. Wet the soil lightly, and remember to label the plant with its name. When the seeds germinate, place the pots in a brightly lit area with temperatures ranging from 60°F to 75°F.
When their second set of true leaves appears, transplant them to individual pots. Water immediately, and then place the jars in direct sunlight. Feed your seedlings once a week with a fertilizer sold for starting seeds.
7. Planting Warm-Season Crops
After the last frost in the spring, summer crops like snap beans, corn, cucumbers, melons, peppers, tomatoes, and squash, if you plant them early, make sure they have adequate protection.
Like warm soil and high temperatures, these vegetables will be killed by winter frosts, as their name implies. But on the other hand, Warm-season crops are typically the fruit that is the edible part rather than the leaves or roots, and they can be stored for winter consumption.
Edamame, eggplant, okra, zucchini, watermelon, herbs, and other warm-season crops are also available.
8. Planting Cold-Season Crops
Cold-season crops, also known as winter vegetables, prefer a cooler climate and thrive at temperatures 15° cooler than those required by warm-season crops.
They typically have edible roots and leaves, with a few producing edible seeds. These vegetables should be grown in cool weather to maturity. They can be planted in early spring or late summer. Beets, broccoli, brussels sprouts, cabbage, carrots, cauliflower, celery, kale, lettuce, onions, peas, potatoes, radishes, spinach, bell peppers, and many more are examples of cool-season vegetables. Most of them can withstand brief periods of frost.
9. Taking Care of Your Edible Garden
After you’ve finished your vegetable garden, the real work begins: taking proper care of it. Watering is essential for keeping your vegetable garden in good shape. If there is enough rain, provide about an inch of water per week or less. There is a rule that will assist you: always check the top inch of soil. If the weather is dry, you should water your garden. Watering is more critical for raised beds than for in-ground crops. Every other day, water them. Another vital aspect is weeding.
Keep them to a bare minimum by stirring the top inch of soil regularly to discourage seedlings. Mulch, plastic, and compost can help weeds in larger plants.
As previously stated, fertilizer is required for a bountiful harvest. Make use of high-quality compost or ready-made vegetable fertilizer. However, don’t go overboard, as too much fertilizer can harm your crop.
10. Harvesting is what it’s all about
You can expect a successful harvest if you plan, plant, and maintain your vegetable garden as needed. Depending on the vegetable variety, harvesting is done in stages.
It is best to bring a basket and collect everything that has ripened daily. Your vegetables will produce more if you harvest them on time. Some vegetables should be harvested while they are still young.
Zucchini, for example, becomes rigid and woody when it grows longer than 7 inches. Planning is everything when it comes to vegetable gardens, so keep track of what you’ve planted and follow the package instructions.
Check the seed packet for information on what to expect from each crop. Harvesting is also an excellent time to look for diseases or pests and eradicate them.
